This Chocolate Chip Cookie is a sophisticated upgrade of the classic American staple. What makes this recipe stand out is the “Maillard Toffee Depth.” By browning the butter before mixing, we transform ordinary fats into a nutty, toasted liquid gold that infuses the dough with a butterscotch-like flavor.

Brown Butter Cookies
The magic of this recipe lies in the sensory transformation of simple ingredients. Here is what to expect from your bake:
The Toasty, Nutty Aroma
As the butter browns, the scent shifts from milky to a complex fragrance of toasted hazelnuts and warm butterscotch. In the oven, this fills the kitchen with a deep, “dark” caramel aroma that is far more sophisticated than standard sugar cookies.
The Fudgy & Shatter-Crisp Texture
Because brown butter has less water than creamed butter, the texture is uniquely decadent. You get a “shatter-crisp” ring around the outside—a thin, golden crust that snaps. The centre remains dense, fudgy, and bendy rather than cakey. The milk chocolate creates soft, creamy pockets that melt into the nutty dough for a luxurious finish.
About me
Based in London, Taha is a professional recipe developer and food photographer. Since launching TahaCooks in 2025, he has shared his decade of culinary expertise to help home cooks master gourmet flavors. Every recipe on the site is triple-tested and designed to bring restaurant-quality results to the everyday kitchen.
The Excellence of Toasted Butter
While the traditional creaming method yields a familiar, light sponge, browned butter (beurre noisette) is the superior choice for a professional-grade cookie.
Why It Wins on Flavour
Creaming softened butter offers a simple, dairy-sweet base. Browning, however, initiates the Maillard reaction, caramelising the milk proteins to unlock a complex profile of hazelnuts, honeycomb, and scorched toffee. This transformation provides a deep, savory backbone that balances the sweetness of the sugar and chocolate.
Why It Wins on Texture
Creamed butter incorporates air, resulting in a loftier, cake-like structure. By contrast, browning evaporates the water content, leaving behind concentrated butterfat. This chemical shift produces a luxurious, fudgy interior and a signature “shatter-crisp” edge. Instead of a fluffy crumb, you get a dense, chewy mouthfeel that feels much more indulgent.
Browning butter is a culinary technique designed to impress. Follow this method for the best nutty, toasted results you’ll ever taste. Simply brown your butter to a rich amber hue to unlock scents of hazelnut and butterscotch, creating a fudgier texture with a signature “shatter-crisp” edge.
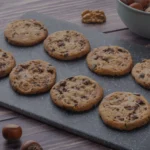
Chocolate Chip Cookies with Brown Butter
Equipment
- 1 Small Saucepan Use a light-coloured pan to monitor the butter's colour change.
- 1 Heatproof Bowl To immediately transfer and cool the browned butter.
- 1 Whisk For emulsifying the butter and sugars.
- 1 Baking Sheet Large enough to allow for cookie spread.
- 1 Baking Parchment To prevent sticking and ensure easy removal.
- 1 Kitchen Scale Essential for accurate UK gram measurements.
Ingredients
- 115 g Unsalted Butter High-quality European style preferred for browning.
- 200 g Gluten-Free Plain Flour Ensure it is a "1-to-1" blend with xanthan gum.
- 1 tbsp Bicarbonate of Soda Provides lift and helps with browning.
- ½ tbsp Fine Sea Salt To balance the richness of the butter.
- 150 g Soft Light Brown Sugar Creates the chewy, fudgy texture.
- 50 g Caster Sugar Helps achieve the shatter-crisp edges.
- 1 large Egg Should be at room temperature.
- 1 tbsp Vanilla Extract Or vanilla bean paste for deeper flavour.
- 1 tbsp Whole Milk To replace moisture lost during butter browning.
- 150 g Milk Chocolate Chunks Chopped from a bar for better melting pools.
- 1 pinch Flaky Sea Salt For sprinkling on top after baking.
Instructions
- "Brown the Butter: Melt the butter in a small saucepan over medium heat. Whisk constantly as it foams. Once you see golden-brown specks and smell a nutty aroma, remove from heat and pour into a bowl.",Unsalted Butter
- Restore Moisture: Immediately stir the milk into the hot browned butter. This replaces the water evaporated during the browning process. Let cool for 10–15 minutes.,Whole Milk
- "Cream the Base: Whisk the cooled brown butter with the brown and caster sugars until fully combined. Add the egg and vanilla extract, whisking until the mixture is glossy and smooth.","Brown Sugar, Caster Sugar, Egg, Vanilla"
- "Fold Dry Ingredients: Sift in the gluten-free flour, bicarbonate of soda, and fine salt. Fold gently until no streaks of flour remain, then fold in the chocolate chunks.","GF Flour, Bicarb, Fine Salt, Milk Chocolate"
- The Hydration Rest: Cover the dough and chill in the fridge for at least 30 minutes. This is crucial for gluten-free flour to hydrate and prevents a gritty texture.,—
- "Bake: Preheat oven to 180°C (160°C Fan). Scoop 50g balls onto a lined tray. Bake for 10–12 minutes until the edges are ""shatter-crisp"" but the centres are still soft.",Flaky Sea Salt
Notes
 Serving & Presentation
Best served warm. Microwave for 10 seconds if eating later to restore the fudgy centre. Pairs perfectly with cold milk or espresso.Explore More
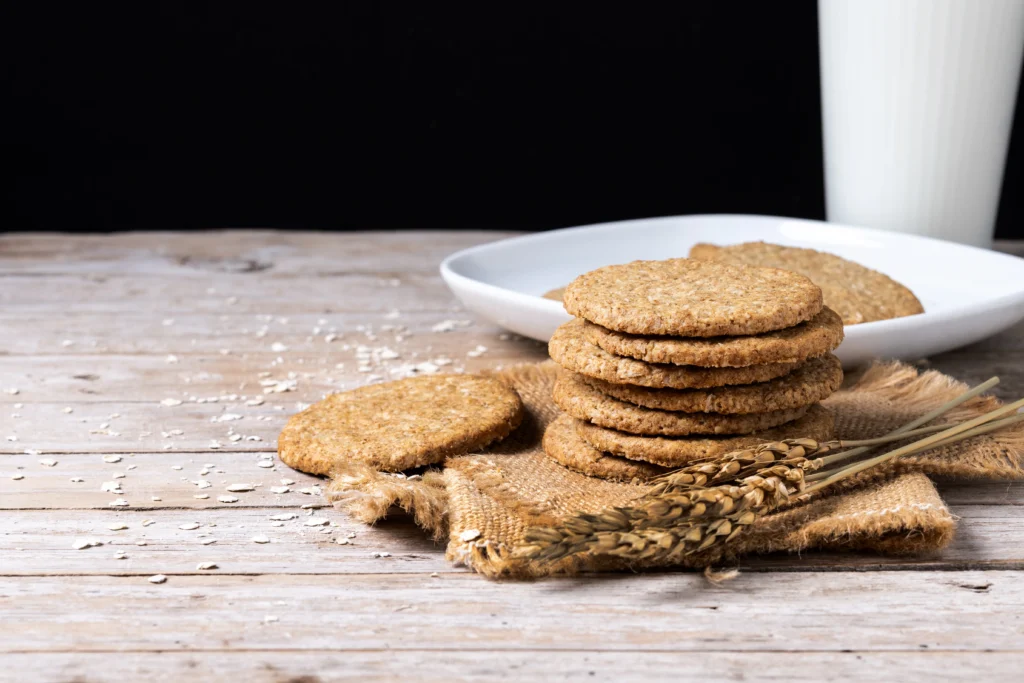
Wholewheat Digestive Biscuits with Dark Chocolate
This Wholewheat Digestive Biscuits…
Victoria Sponge Cake: A Timeless British Classic
Victoria Sponge Cake is…
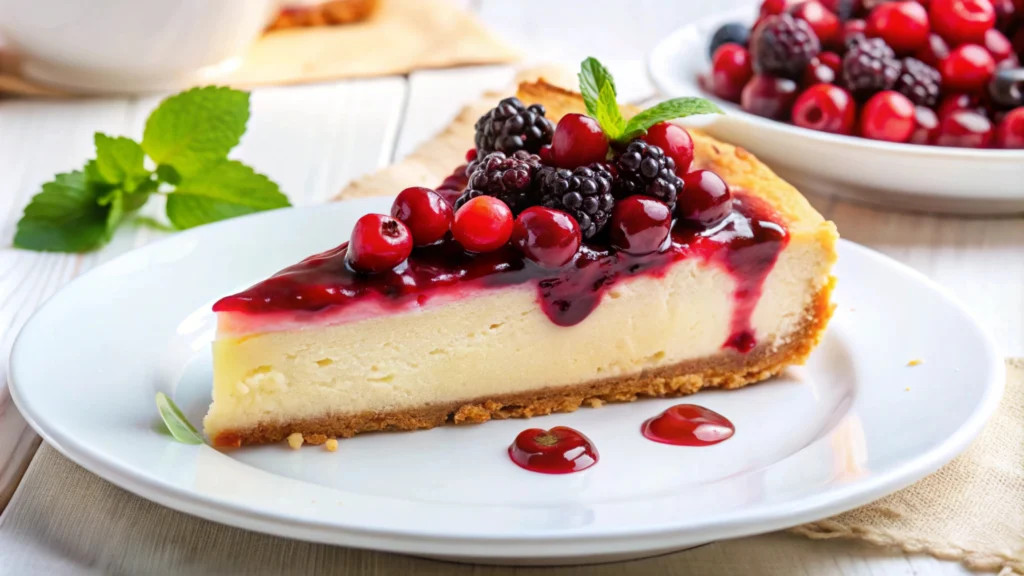
Vanilla Bean Cheesecake with Raspberry Coulis
This baked cheesecake celebrates…

Ultimate Lemon Drizzle Cake: A Refreshing British Tea-Time Classic
The Lemon Drizzle Cake…
FAQs
Why are my cookies flat?
This usually happens if the butter was too warm or oily when you started. For that Classic Texture, use room-temperature butter—it should be soft enough to dent with your thumb, but not shiny or melted. If your kitchen is hot, chill the dough balls for 20–30 minutes before baking to ensure they stay thick and soft.
Can I make the dough ahead of time?
Yes, and you actually should! Letting the dough rest in the fridge for 24 hours (cold aging) allows the flour to hydrate and the flavors to deepen. It transforms a standard cookie into a Gourmet treat with a deeper, toffee-like complexity.
Should I use chips or chunks?
While chips are convenient, chopped chocolate bars create those iconic, Rich and Bold pools of melted chocolate. Chips have stabilizers that prevent them from melting fully, while chunks create a Velvety Smooth texture throughout.