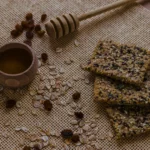
The Manuka Honey and Oats Granola Bar is a sophisticated evolution of the classic trail snack, elevating a pantry staple into a high-performance, artisanal energy source. This bar centers on the unique synergy between the earthy, toasted depth of jumbo rolled oats and the medicinal, floral complexity of Manuka honey and oats granola bars. Unlike mass-produced alternatives, this recipe avoids refined sugars and industrial binders, relying instead on the natural viscosity of “liquid gold” to create a texture that is chewy, resilient, and deeply satisfying.

Golden Oats & Natural Sweetness
The success of this bar hinges on the specific interaction between toasted textures and the viscous density of the honey. While standard sweeteners often provide a one-dimensional sugary hit, Manuka offers a deep, mineral-rich sweetness that functions as a structural anchor. Its thick consistency creates a natural, chewy matrix that keeps the grains together without the need for processed syrups.
To maximize these traits, the parched-oat technique is essential. By browning the oats first, you remove moisture, allowing the honey to coat each flake without soaking in. This maintains a distinct “bite” rather than a dense mass. During the mixing phase, treat the honey gently; warming it just until fluid preserves its velvety mouthfeel and aromatic complexity.
Finally, the cooling phase is where the magic happens. As the mixture drops in temperature, the honey sets into a semi-solid state, giving the bar its signature bend. A touch of sea salt acts as the perfect foil, brightening the toasted notes and ensuring the finish is sophisticated rather than cloying.
About me
Based in London, Taha is a professional recipe developer and food photographer. Since launching TahaCooks in 2025, he has shared his decade of culinary expertise to help home cooks master gourmet flavors. Every recipe on the site is triple-tested and designed to bring restaurant-quality results to the everyday kitchen.
The Power of Manuka Honey
Beyond its role as a gourmet ingredient, Manuka honey serves as a bio-active foundation for these bars. Originating from the New Zealand Manuka bush, this specialized nectar is prized for its high concentration of non-peroxide activity. Unlike standard clover or wildflower varieties, it possesses a rugged, medicinal profile that elevates a simple snack into an artisanal health staple.For a balanced morning routine, enjoy a bar alongside our Traditional Brioche French Toast.
Structural & Nutritional Impact
- The Natural Adhesive: Its dense, syrupy weight provides a formidable grip, ensuring the oats and seeds stay tightly packed without becoming brittle.
- Stable Energy: Because it is a complex unpasteurized sugar, it offers a more sustained glucose release, making these bars an ideal choice for pre-workout fuel or a mid-afternoon focus boost.
- Aromatic Depth: It introduces a savory, woodsy finish that balances the toasted grains, moving the flavor profile away from “candy-sweet” toward something far more sophisticated and grounded.
Using Manuka means you are prioritizing ingredient integrity. By treating it with care—never over-heating—you maintain the raw essence that distinguishes this honey as one of the most unique substances in the culinary world.
Techniques for Perfectly Set Bars
Achieving a bar that is chewy yet stable requires mastering the cooling and compression stages.
- The Power Press: Once the mixture is in the pan, don’t just spread it—compact it. Use the bottom of a heavy measuring cup or a flat meat mallet to apply significant pressure. This forces the honey into the oat fibers, creating a structural bond that prevents the bars from falling apart.
- Thermal Setting: Avoid the temptation to cut the bars while warm. As the Manuka honey cools, it transitions from a liquid to a thick, semi-solid resin. A minimum of 2 hours in the fridge is mandatory for the “set” to finalize.
- The Moisture Seal: If your bars feel too soft, they may have retained too much internal moisture. A low-temperature “Setting Bake” (15 minutes at 150°C) helps evaporate excess water from the honey, leaving behind a tackier, firmer result.
- Uniform Thickness: Ensure the mixture is perfectly level across the pan. Uneven spots lead to fragile “break points.” A bench scraper is the best tool for squaring the edges and ensuring the center is as dense as the corners.
Golden Manuka & Toasted Oat Wellness Bars
Equipment
- 1 Baking Sheet For pre-toasting the oats and almonds.
- 1 8×8 inch Square Pan Metal or glass; the ideal size for thick, chewy bars.
- 1 Parchment Paper Crucial for the "sling" to remove bars without sticking.
- 1 Small Saucepan For gently melting the honey and coconut oil.
- 1 Large Mixing Bowl To toss the toasted ingredients with the liquid binder.
- 1 Heavy Glass or Press Used to compress the mixture into the pan firmly.
- 1 Sharp Chef’s Knife Ensures clean edges during the final slicing.
Ingredients
- 2 Cups Old Fashioned Rolled Oats Essential for texture; avoid "instant" or "quick" oats.
- 1/2 Cups Raw Almonds Roughly chopped for a crunch that mirrors the toasted oats.
- 1/3 Cups Authentic Manuka Honey Use UMF 5+ or higher to ensure the signature "resin" grip.
- 1/4 Cups Virgin Coconut Oil The cooling agent that helps the bars solidify and snap.
- 1/4 Cups Flax Seeds or Chia Seeds Adds a nutritional boost and helps absorb excess moisture.
- 1 Tsp Vanilla Bean Paste Elevates the floral, woodsy aromatics of the Manuka.
- 1/2 Tsp Flaky Sea Salt The critical contrast to the honey’s deep caramel notes.
Instructions
- Golden Toasting: Preheat oven to 175°C. Spread oats and almonds on a tray and bake for 8–10 minutes. This removes moisture and builds a deep, nutty aroma.
- Gentle Melt: Combine Manuka honey, coconut oil, and salt in a saucepan over very low heat. Stir until fluid, but do not simmer to protect the honey's bio-active enzymes.
- The Fusion: Remove from heat and stir in the vanilla and seeds. Pour this liquid gold over your toasted oats and toss until every grain is glossy and coated.
- The Pressure Pack: Line your 8×8 pan with parchment. Transfer the mix and use a heavy glass to press down with maximum force. Compression is what prevents crumbling.
- Setting Bake: Lower oven to 150°C and bake the pan for 15 minutes. This "cures" the honey, turning it into a stable, chewy binder.
- Curing & Slicing: Cool to room temperature, then refrigerate for 2 hours. Once firm, lift the parchment "sling" and slice with a sharp knife in one clean motion.
Notes
Serving & Presentation
To match the premium quality of Manuka honey, keep the presentation clean, artisanal, and rustic.- The Artisanal Wrap: Cut small rectangles of brown parchment paper and wrap them around the center of each bar. Secure with natural jute twine for a professional “bakery-style” look that also keeps fingers clean.
- The “Log Cabin” Stack: If serving on a platter, stack the bars in a crisscross pattern to create height. This allows guests to see the toasted texture and thickness of the bars from all angles.
- Final Garnish: Sprinkle a tiny pinch of flaky sea salt or a dusting of cinnamon just before serving. The salt catches the light and highlights the amber hue of the honey.
-
Ideal Pairings: * Morning: Serve with a dollop of tart Greek yogurt.
- Afternoon: Pair with a hot cup of Earl Grey or Rooibos tea to complement the floral notes.
Explore More
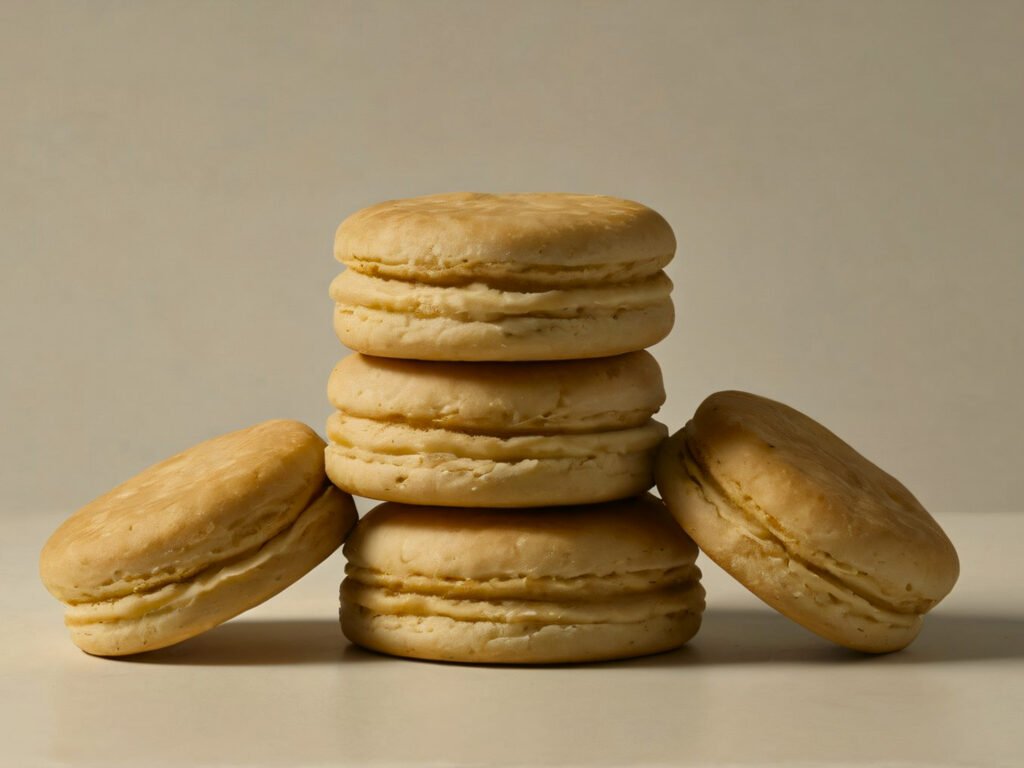
Almond & Honey Macarons: A Taste of Golden Sweetness
Some flavors just belong together — almond and honey is one of those pairs. We…
Fluffy Scotch Pancakes (Easy Drop Scones Recipe)
This post may contain affiliate links, and I earn a commission at no additional cost…
Golden Dippy Eggs & Crisp Soldiers
A plate of Golden Dippy Eggs & Crisp Soldiers is the ultimate British breakfast ritual,…
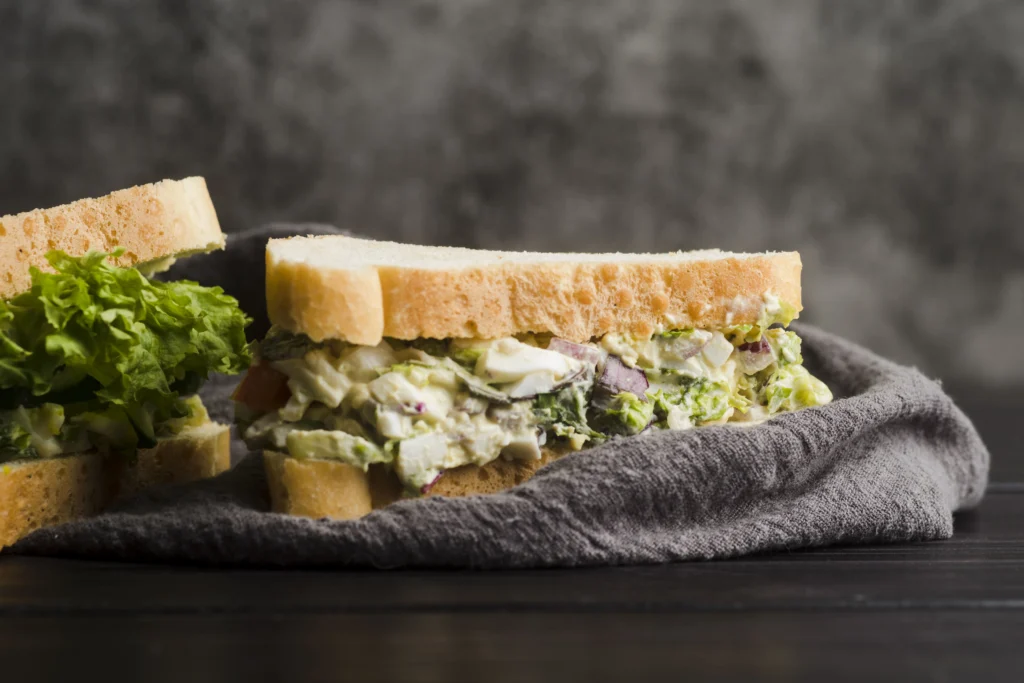
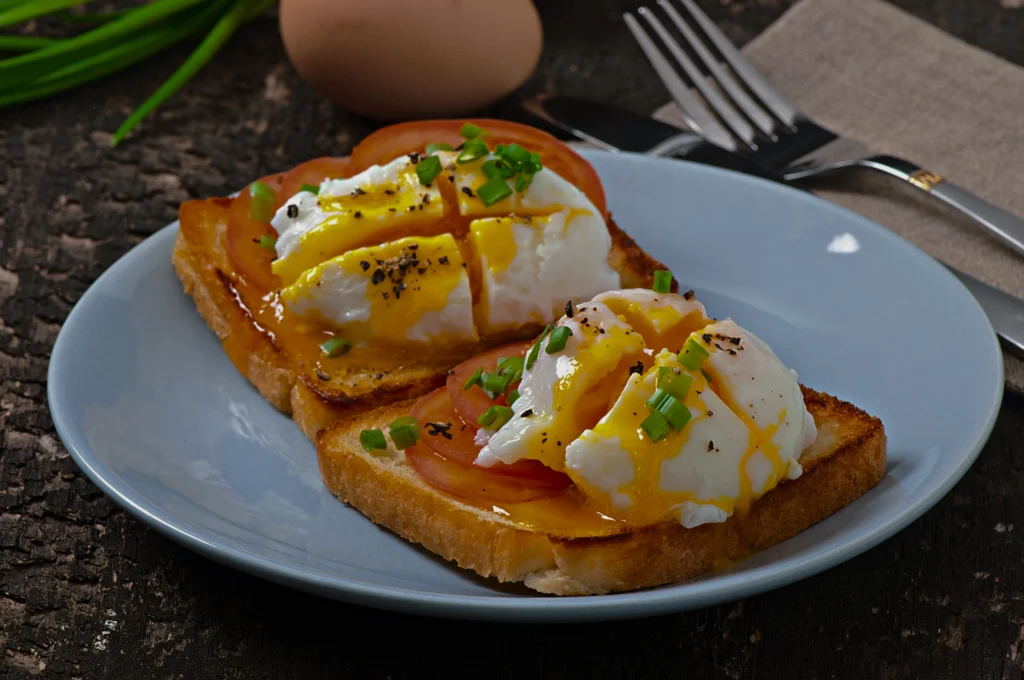
Classic Egg Sandwich with Creamy Filling
The Classic Egg Sandwich is a masterclass in texture. What makes it special is the…
FAQS
Why use Manuka honey instead of regular honey or maple syrup?
Manuka honey is prized for its high viscosity and medicinal, woodsy flavor profile. Structurally, it acts as a superior natural adhesive; its thick, resin-like consistency creates a much stronger bond than thinner honeys or maple syrup, ensuring your bars stay chewy and “bendy” rather than brittle or crumbly.
My bars keep falling apart. What did I do wrong?
This is usually a result of under-compressing. You must use the “Power Press” technique—apply extreme pressure using the bottom of a heavy glass or a meat mallet to force the honey into the oat fibers. If the mixture isn’t compacted into a dense, uniform block before cooling, it will lack the structural integrity to hold its shape once sliced.
Can I skip the “Pre-Toast” step for the oats?
It is highly discouraged. Pre-toasting the oats for 8 minutes does two things: it develops a deep, nutty flavor and, more importantly, it removes internal moisture. This prevents the oats from becoming soggy when they meet the honey, ensuring the bars have a sophisticated “bite” rather than a mushy texture.
Why is the 2-hour fridge rest mandatory?
Honey is a thermoplastic ingredient—it softens when warm and firms up when cold. You need the Thermal Setting period to allow the honey to transition from a liquid to a semi-solid state. If you cut the bars too early, the “liquid gold” will still be too fluid, and the bars will lose their shape.